Door Handle Impacts
Repeated swings of a door handle press into drywall, leaving shallow dents or thin cracks in the surface paint that mar walls and can't be easily disguised by simple touch-ups.
Local Drywall repair Service
You spot a jagged hole with chipped edges near the doorway, the paint around it peeling and the surface uneven where someone tried a quick patch. It’s tempting to ignore, but Drywall installation in Orange is trickier than it looks—those rough spots never quite disappear and soon become an eyesore you can’t walk past.
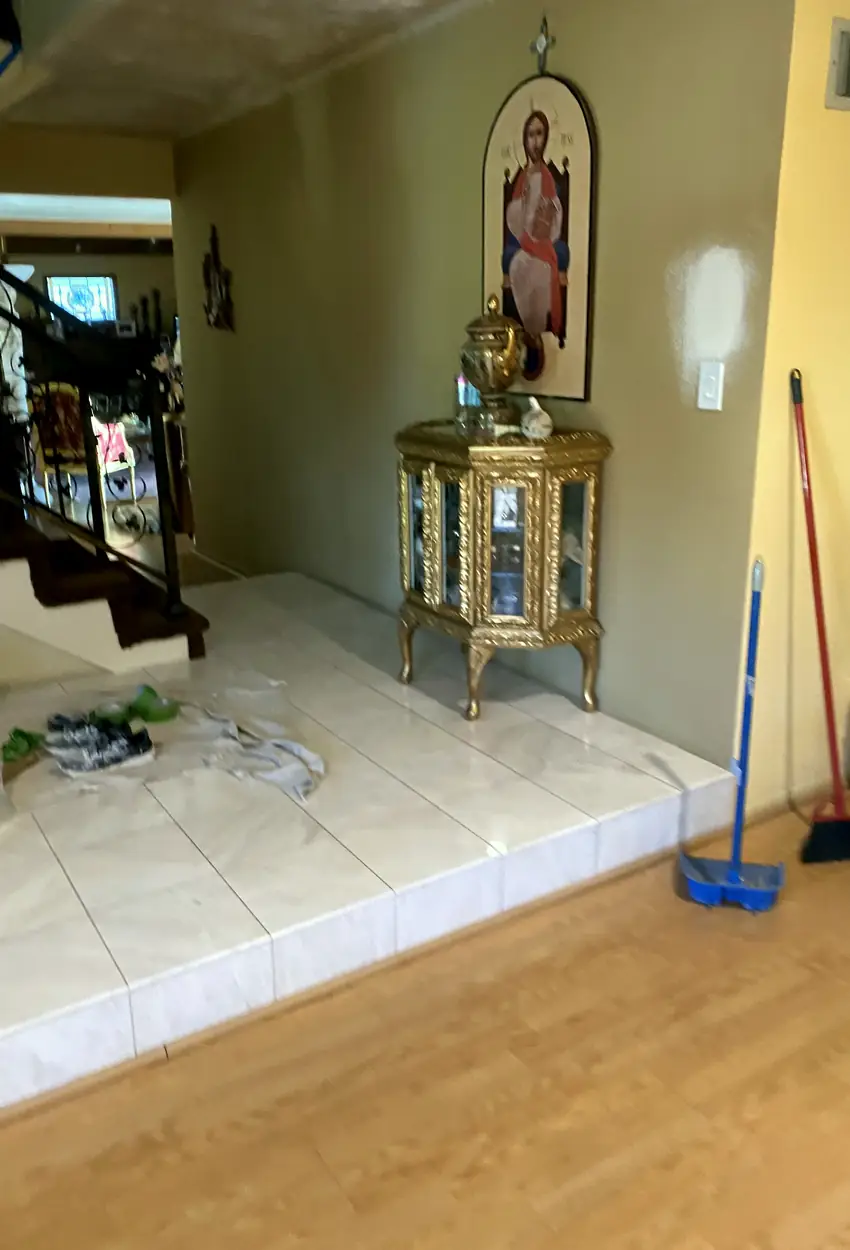
The moment the corner of the wall got smashed by the couch moving out, the drywall tore with a jagged hole and crumbled plaster edges. At first, the damage wasn’t huge, but the rough edges caught dust and made everything look messy. I figured I could fix it myself since it was just a small spot near the entryway.
After a couple tries patching it with a standard repair kit, the seams shrank and the joint compound cracked. Under the living room light, you could clearly see uneven textures and shadow lines where the repaired area didn’t match the original surface. No matter how much sanding I did, the patch was obvious, and the paint never blended right. The subtle light reflections kept highlighting every flaw—far from the seamless wall I wanted.
Calling in a pro was the best call. The Drywall installation specialist used multiple compound layers, feathered the edges with a fine grit sanding, and controlled dust so no mess was left behind. They matched the wall texture precisely and applied paint that vanished every hint of repair. The whole spot is now perfectly flat from every angle, with no shadows or cracks—done right the first time, no callbacks needed.
Common Drywall installation issues in Orange homeowners face when visible wall damage appears and proper repair is needed to avoid recurring problems.
When you patch drywall, it might look fine while wet but shrink and crack as it dries. This happens because the compound holds moisture longer inside. Ignoring it leads to peeling paint or new cracks. Proper repair means letting each layer dry fully before sanding and painting, ensuring stability and no callbacks.
Visible patches often happen because the texture or joint compound wasn’t blended properly. Dry sanding and paint can highlight edges especially under side lighting. If ignored, it becomes more obvious over time. A correct fix includes feathering the compound edges and matching the wall texture, so the repair blends seamlessly.
DIY fixes may work temporarily, but visible damage often hides structural issues like underlying cracks. A poor patch can keep cracking or bulging. Professionals properly prep the area, use the right compound layers, and texture to match, delivering clean work that lasts with no callbacks.
Even small damage needs careful sanding, multiple compound layers, and texture blending which take time and skill. Skipping these steps causes patches to fail and appear worse. Quality Drywall installation in Orange involves tools and techniques aimed at a smooth, durable result worth the cost versus constant rework.
If the damage is deep or includes cracks beyond the surface, just patching won’t hold and may fail again. Ignoring this means the problem keeps coming back. Proper repair involves removing loose material, reinforcing with tape or drywall pieces, then finishing with blending and texturing for stable results.
Wall texture reacts to light angles differently; a slight mismatch or sanding marks become obvious with side lighting. Overlooking texture replication means the repair stands out. True repair recreates the exact texture pattern and color, and uses careful blending so natural light doesn’t reveal the patch edges.
A rushed patch often dries unevenly and cracks or dent over time, especially in high traffic areas. If you skip proper prep, blending, and curing, the damage reappears quickly. To avoid this, a stable long-term fix includes full drying, correct texture matching, and paint application to handle daily wear.
Our drywall repair work is centered in Orange, handling common issues like visible wall damage, patch work, and finish touches. Because these jobs usually involve short visits and sometimes follow-up trips, we keep our service area tight within Orange County to stay efficient. We typically schedule nearby jobs together, balancing travel time with project needs to keep things manageable and timely.
While most repairs are done right in Orange, we routinely cover nearby cities within a practical reach when grouping jobs or planning return visits. Villa Park and Tustin.
When walls near Orange show cracks or dents, we handle drywall repairs and installations just a short drive away. Whether it’s fixing small patches or installing new drywall, these local jobs get prompt attention to restore smooth, clean surfaces without the wait.
Homeowners often ask about these drywall issues during the same visit.
HubPro also handles these home repair tasks in Orange when you need more than drywall repair.
In Orange homes, Drywall installation often begins with minor nicks but can quickly escalate to bigger problems. Here’s how small damages can turn into visible drywall issues.
Repeated swings of a door handle press into drywall, leaving shallow dents or thin cracks in the surface paint that mar walls and can't be easily disguised by simple touch-ups.
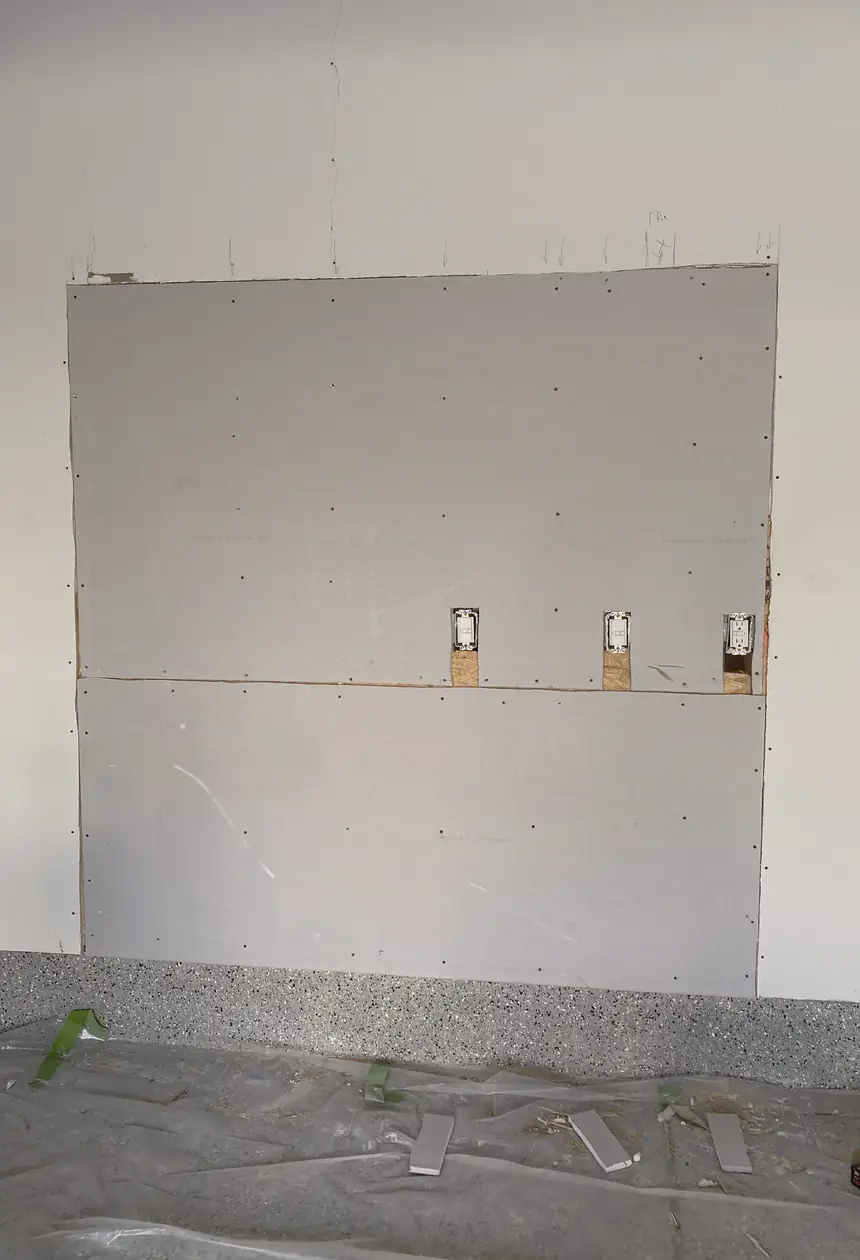
Electricians or plumbers carve out precise but rough openings in drywall for wiring or pipes, creating jagged edges and uneven holes that often demand more than just a patch.
When anchors pull free from the wall, they leave irregular holes surrounded by crumbled drywall texture, making clean repairs tricky since patching rarely matches perfectly.
Subtle shifts in framing cause thin cracks and broken corners around seams, turning minor surface blemishes into more apparent flaws that spread and catch the eye.
Larger wall penetrations for vents or wide cable entries leave rough, uneven breaches in drywall, signaling deeper modifications that simple fixes can’t seamlessly restore.
In Orange, CA, Drywall installation pricing reflects the real effort needed to fix visible patches, failed DIY attempts, rough openings, or texture mismatches—ensuring seamless, lasting results.
$150+
Small repairs require careful prep to clean edges and apply multiple compound layers with drying time, making sure the patch blends cleanly without visible edges.
$280+
Medium jobs often involve fixing failed DIY work, adding complexity due to uneven surfaces and more compound layers, plus a return visit to guarantee a flawless finish.
$420+
Large repairs address rough openings or mismatched texture, demanding extensive prep, several drying cycles, and skillful blending to match surrounding walls perfectly.
Top-Rated Drywall repair — 5 Stars on Yelp & Google
Professional Drywall installation in Orange addressing common damage issues with quality surface finishing for durable and neat walls.
★★★★★
Had a weirdly soft patch next to the door; thought a quick fix would work but it sunk the next day. They replaced the drywall properly and now it feels solid with even texture.
Megan R
★★★★★
That big hole by my bedroom door was just half-covered by my DIY patch and looked worse, but their expert drywall repair services made the wall firm and smooth again without obvious seams.
Chris D
★★★★★
The paint on my drywall patch didn’t match and stood out badly after my own attempt. They explained every step and matched both drywall and paint precisely, keeping dust under control too.
Sophia
★★★★★
I found a dent in the living room wall that I tried patching but sanded too much leaving uneven texture. The handyman came back for a second pass and now it doesn’t catch the eye at all.
James K
★★★★★
Searched ‘drywall patch near me’ after a cracked edge repair I botched left a rough surface. The pro showed up on time, controlled the dust well, and explained how they’d blend the patch so it won’t be noticeable.
Lily M
★★★★★
Tried fixing a large hole myself but gave up after the patch kept cracking. Their sheetrock repair was thorough; no callbacks needed and final finish blends subtly under normal lighting.
Victor S
★★★★★
The corners around my drywall patch kept peeling paint after my quick try. They used proper drywall and paint techniques and didn’t rush drying. The surface looks clean and the area was tidy after.
Anna L
★★★★★
Needed a perfect Drywall installation in Orange for a major wall redo. They kept dust minimal, explained what was going on. Took two drying sessions before finishing it—now you’d never guess the patch existed.
Stephanie Wilson
Our Drywall installation process carefully addresses visible impact damage, rough patches, and seams, ensuring an invisible, durable repair that holds up under light inspection.
We start by defining the damaged zone, cutting back loose sections to stable drywall. This prevents shrinkage or future cracking, a common DIY mistake when unstable areas aren't fully removed.
Next, a precisely measured drywall patch is installed to fit snugly, avoiding gaps that cause visible seams. Misaligned or loose patches often lead to uneven surfaces and callbacks in amateur work.
We build compound in thin, controlled layers with sufficient drying time, preventing cracks and shrinkage. Rushing this stage often results in bubbling or peeling that's evident under different lighting angles.
Careful sanding with edge feathering creates a seamless transition. Skipping gradual sanding leads to rough edges and visible lines when light hits the surface, something DIYers frequently overlook.
Finally, we replicate the existing texture and apply paint designed to blend perfectly, avoiding reflection mismatches. Poorly matched finishes cause flashing and obvious repair spots under direct light.