Impact From Furniture
A door handle or couch corner lightly striking the drywall can create shallow dents or tiny surface cracking. Though minor at first, these imperfections disrupt the smooth finish and are tricky to disguise.
Local Drywall repair Service
That jagged hole in the drywall by the hallway, with chipped edges and the paint peeling around it, isn’t going to fix itself. It looks rough, and patching it up quickly usually leaves uneven surfaces that stand out. This kind of Drywall installation in Laguna Hills needs a proper touch before it gets worse.
Just last week, a heavy chair slipped and tore a jagged hole right through my living room drywall—edges splintered and drywall paper hanging loose. The damage wasn’t just unsightly; it caught every shadow and light flicker, making the flaw impossible to ignore. Every glance at that break was a constant reminder of a rough mistake that left my wall looking ragged and fragile.
I tried patching it myself, grabbing a kit from the local store. But sinking compound into the tear turned into a nightmare: shrinkage pulled the seams tight, leaving tiny gaps and uneven spots. The paint didn’t match; shadows formed as light hit the patch differently. No amount of sanding helped because I couldn’t feather the edges or blend the textures right. The patch stuck out like a sore thumb—definitely not the smooth wall I’d hoped for.
Deciding it was time to call in the pros, the handyman handled the Drywall installation with exact precision. Multiple compound layers were feathered perfectly, sanding was meticulous, and the final paint matched flawlessly so no shadow or outline remained. The crew worked cleanly with tight dust control, and crucially, the repair was done right the first time—no callbacks. Now, the wall looks completely flat and seamless from any angle, like that damage was never there.
In Laguna Hills homes, Drywall installation issues often begin small but grow over time. Subtle impacts lead to noticeable flaws that can worsen without proper attention.
A door handle or couch corner lightly striking the drywall can create shallow dents or tiny surface cracking. Though minor at first, these imperfections disrupt the smooth finish and are tricky to disguise.
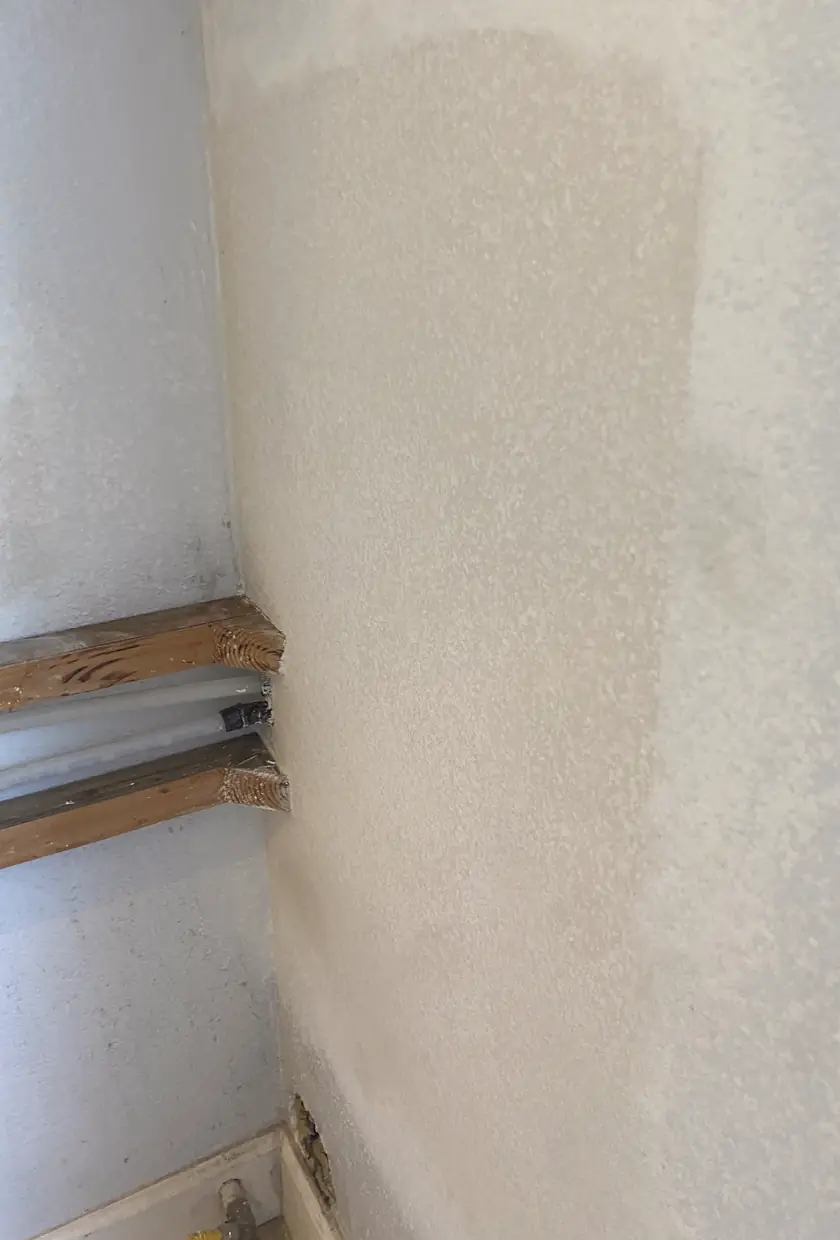
To run new plumbing or electrical lines, contractors sometimes make rough cuts in drywall. These uneven openings, often left with jagged edges, set the stage for more visible damage if left unpatched.
Installing heavy TV mounts or shelves applies force at anchor points, sometimes pulling drywall away and causing chips or gouges around holes. Such damage rarely blends seamlessly back into the wall surface.
Subtle shifts in house framing cause drywall joints and corners to develop fine cracks or slight breaks in texture. Over time, these stress indicators can become more pronounced, exposing deeper fractures.
In Laguna Hills, Drywall installation pricing reflects not just the hole, but the real work behind fixing visible patches, failed DIY attempts, rough openings, or mismatched textures for a seamless finish.
$150+
Requires careful prep to clean edges, a single compound pass, and drying time to ensure a smooth base before final sanding and paint-ready finish.
$280+
Needs multiple compound layers with drying cycles and at least one return visit to blend textures, addressing issues like rough openings or partial DIY fixes.
$420+
Demands extensive surface preparation, several drying cycles, and careful finish work to match existing wall texture perfectly, avoiding uneven patches.
Top-Rated Drywall repair — 5 Stars on Yelp & Google
Real customer feedback for professional Drywall installation in Laguna Hills with detailed repair experiences and authentic results.
★★★★★
Had a big door hole that previous patch work just peeled off. This handyman showed up on time, sanded carefully, and the fix no longer draws attention.
Sara M.
★★★★★
I tried a DIY drywall patch near me but it cracked days later. He explained the process, came back for a second pass, and now the wall feels solid and smooth.
Kevin R
★★★★★
The old patch had uneven texture and you’d notice the rough edges under bright light. After the drywall and paint job here, it’s much smoother, though I thought it was done at first, he had to fix seams again.
Anna L
★★★★★
Previous paint mismatch was bothering me badly. He kept the area clean, flashed paint expertly, and now it blends under light without any obvious color breaks.
Chris D
★★★★★
The drywall felt soft and damaged behind the surface. Ended up needing more than a patch; the sheetrock repair was thorough and the finish looks solid. No callbacks needed.
Victor S.
★★★★★
Their drywall repair services involved multiple drying cycles. He didn’t rush drying and even came back next day for sanding to get the surface just right before the final coat.
Diana F
★★★★★
I appreciated how they controlled dust while working. Unlike some previous folks, the room was clean and the texture matched so well I didn’t catch where the fix was.
Miles J
★★★★★
Called them again for another job because they handle things properly without rushing. Last time, they explained everything and didn’t need callbacks—trustworthy after repeated visits.
Hannah T
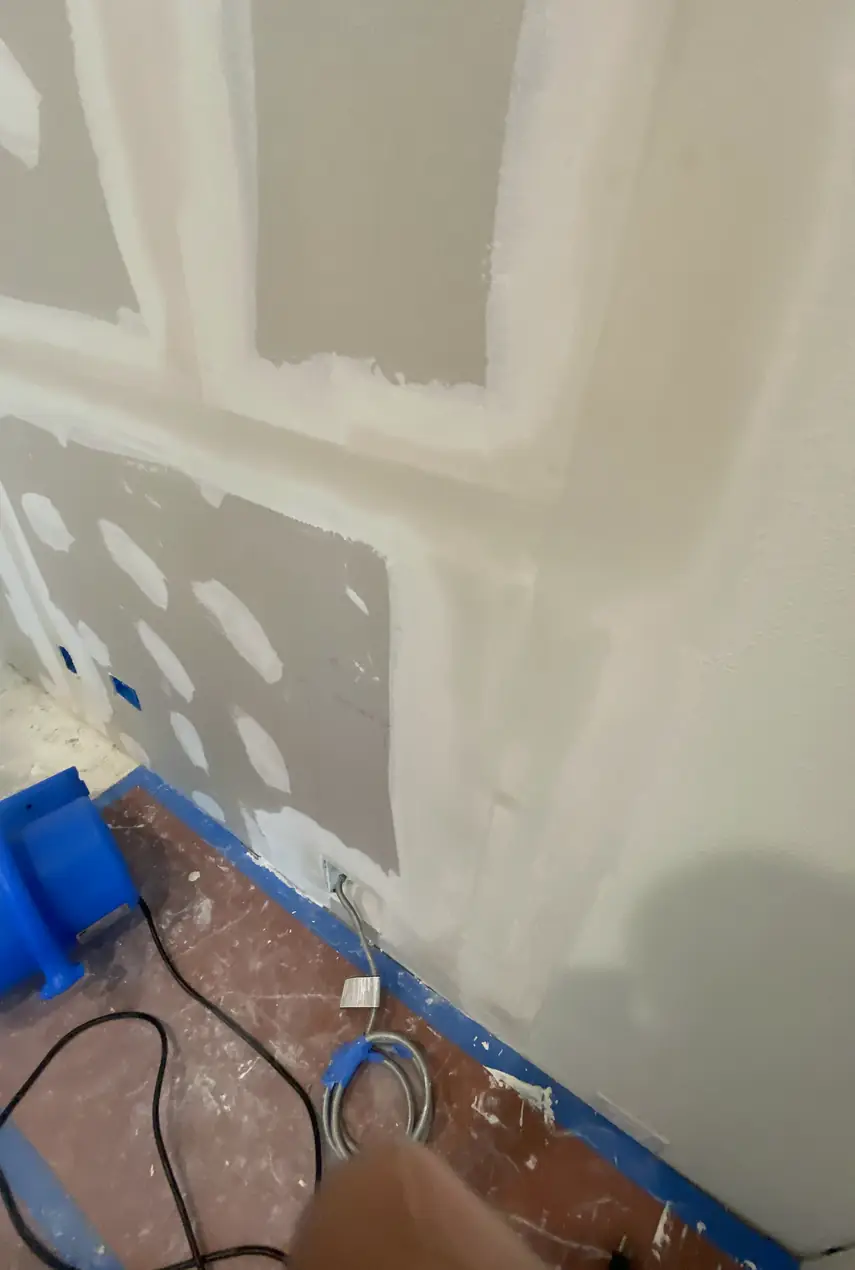
Fixing visible impact damage, rough patches, and seams during Drywall installation requires precise steps ensuring the patch is stable and blends perfectly under light.
Cut out the damaged drywall cleanly, removing loose debris to create a solid base. Rushed cuts or unstable edges cause patches to shift or seams to show under directional light.
Fit a drywall patch that matches the cutout exactly, securing it flush with the wall studs. An ill-sized patch leads to gaps or bulges, creating visible shadows if not tightly anchored.
Apply joint compound in thin, even coats with drying time between each layer. DIYers often rush this step, causing shrinkage or cracking that highlights seams and unevenness.
Hand-sand the patch carefully using light passes, blending compound edges into the surrounding wall. Poor sanding leaves sharp edges or rough spots that reflect light unevenly.
Replicate the original texture then paint, blending tones exactly. Skipping texture or mismatching paint creates flashing patches visible in natural or artificial lighting.
Common homeowner concerns about visible drywall damage after poor repair attempts, highlighting causes, effects, and proper fixes for lasting results in Laguna Hills.
When drywall mud dries, it shrinks; if you don’t apply enough layers or don’t feather edges well, the patch pulls away visibly once dry. Ignoring this leaves gaps and cracks that get worse. Proper repair means multiple thin coats, sanding between, and blending edges for a smooth, stable finish.
Paint highlights any unevenness or texture mismatch. If the patch isn’t blended properly, especially under side lighting, its edges catch light differently and stand out. Overlooking this means the patch stays obvious. The fix involves careful sanding, matching texture, then priming before paint for seamless blending.
DIY attempts often miss subtle steps like proper mud drying times, complete sanding, and texture matching, leading to recurring cracks or bumps. Ignoring professional repair risks having the damage return repeatedly. A skilled handyman ensures clean work with no callbacks by properly prepping, patching, and finishing the wall.
Visible damage can mean deeper drywall issues behind the surface that need fixing to prevent the problem from returning. Skipping proper steps saves time but causes poor adhesion and failure. Investing in a full repair, including proper mud layers, drying, sanding, and texturing, results in durability and no repeated costs.
If damage is wide or the drywall paper is torn, a patch won’t hold well and will fail again. Ignoring this leads to cracks reopening or bubbles forming. The proper fix is replacing the damaged section with new drywall, then taping, mudding, and blending for a stable, long-lasting repair.
Textured walls reflect light uniquely; even slight differences from patch compound or sanding create shadows that highlight flaws. Under direct or side light, this becomes obvious. Leaving texture unmatched results in a visible patch. The right approach is matching texture grain and direction, then carefully blending with surrounding wall.
Quick patch jobs often skip critical drying and sanding steps, causing mud to crack or pop off after a short time. If ignored, damage reappears, costing more time and money. Proper Drywall installation in Laguna Hills means gradual mud application, full drying, sanding, and finishing with proper texture for a durable repair that won’t call for repeats.
Based in Laguna Hills, drywall repairs focus on small patches, visible damage, and finishing work best handled with short visits. Nearby spots within a 20-25 minute drive get scheduled in clusters to make return trips manageable. This approach fits well with typical workloads across parts of Orange County, ensuring steady coverage without stretching travel time too far.
Beyond Laguna Hills, the work often extends to nearby Orange County communities where small drywall fixes can be grouped for efficient scheduling and travel. Mission Viejo and Lake Forest.
When a wall in Laguna Hills shows cracks or holes, the same careful drywall repair and installation applies just a short drive away. Whether it’s a small patch or replacing a section, nearby homes get the same attention to detail, with quick scheduling to keep repairs timely and lasting.
Homeowners often ask about these drywall issues during the same visit.
HubPro also handles these home repair tasks in Laguna Hills when you need more than drywall repair.