Impact from Door Handles
Repeated bumps from door handles create shallow dents and chipped paint where the drywall surface buckles, making subtle flaws visible yet easy to overlook at first.
Local Drywall repair Service
That jagged hole in the drywall near the corner didn’t just appear overnight—the chipped edges peel paint, and the rough patch catches your eye every time you walk by. It’s tempting to patch it yourself, but Drywall installation in Fountain Valley takes more than a quick smear to blend right and last.
When a heavy chair caught the corner of my living room wall, it left a jagged hole with a cracked edge that caught every eye. The drywall was peeling slightly, and the daylight from the window made the damage more obvious, casting shadows that only seemed to grow by evening. At first, I thought a quick patch would do, but the uneven break and crumbled paper around the hole made it more daunting than I’d imagined.
Taking matters into my own hands, I tried sanding and filling the gap, but the seams quickly shrank and revealed a mismatched texture under the paint. The slight light reflection near the repair caused shadow lines that emphasized every imperfection, making the repair look even worse than the original damage. After several attempts with different compounds and sanding, the result was far from flat or invisible.
That’s when I called a handyman skilled in Drywall installation to handle the job right. They controlled dust meticulously and layered compound with precision, feathering edges until the surface was perfectly uniform. The subtle texturing matched my existing walls, and the paint blend was seamless with no shadow lines, leaving no trace of the old damage. The clean work was solid—no callbacks necessary—and the patch came out flat from every angle, convincing me that some jobs really do require a professional touch.
In Fountain Valley homes, Drywall installation is often tested by everyday incidents that start small but gradually leave more noticeable damage over time.
Repeated bumps from door handles create shallow dents and chipped paint where the drywall surface buckles, making subtle flaws visible yet easy to overlook at first.
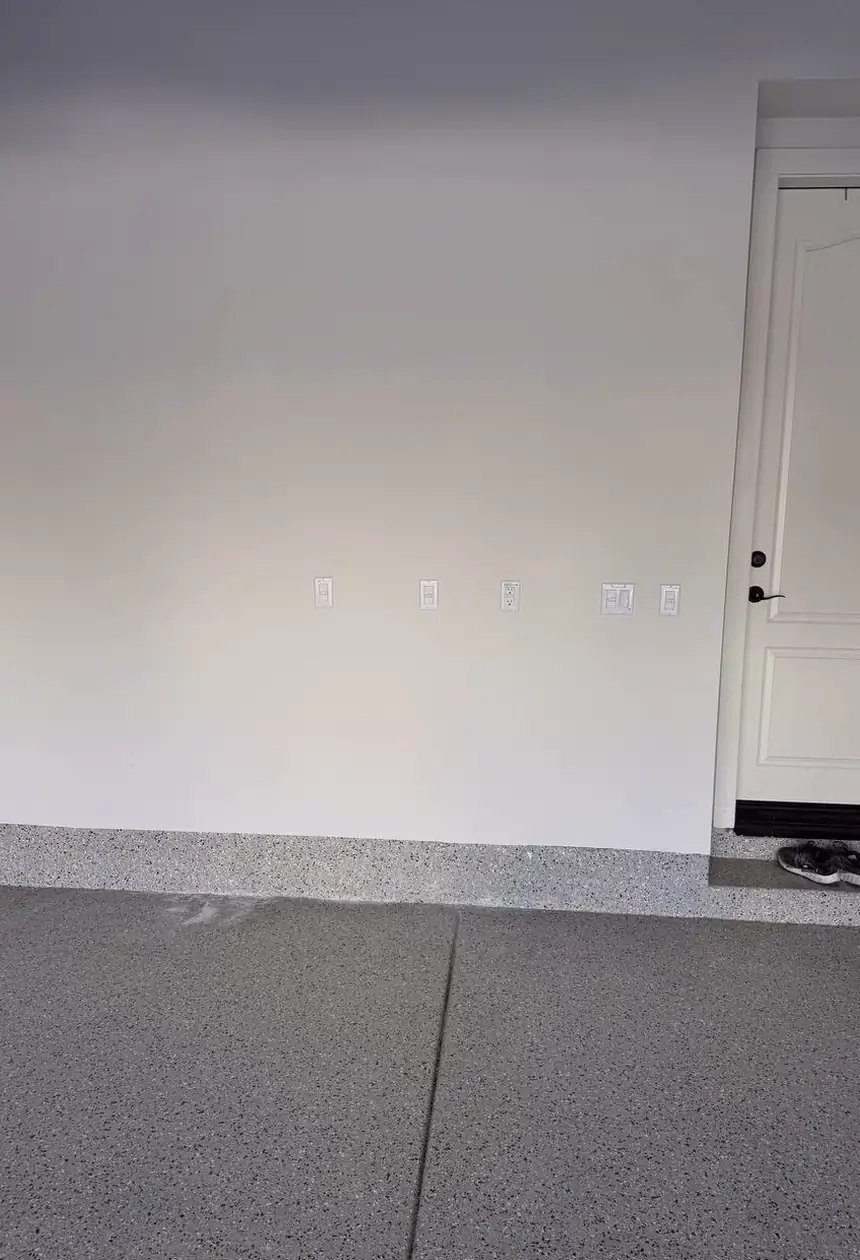
Homeowners or workers cut into drywall for plumbing or electrical access, leaving jagged openings that disrupt smooth surfaces and rarely match original textures when closed.
Heavy TV brackets or wall anchors being installed and later pulled off tear the drywall paper and create holes with uneven edges, an issue that quick fixes often can’t fully disguise.
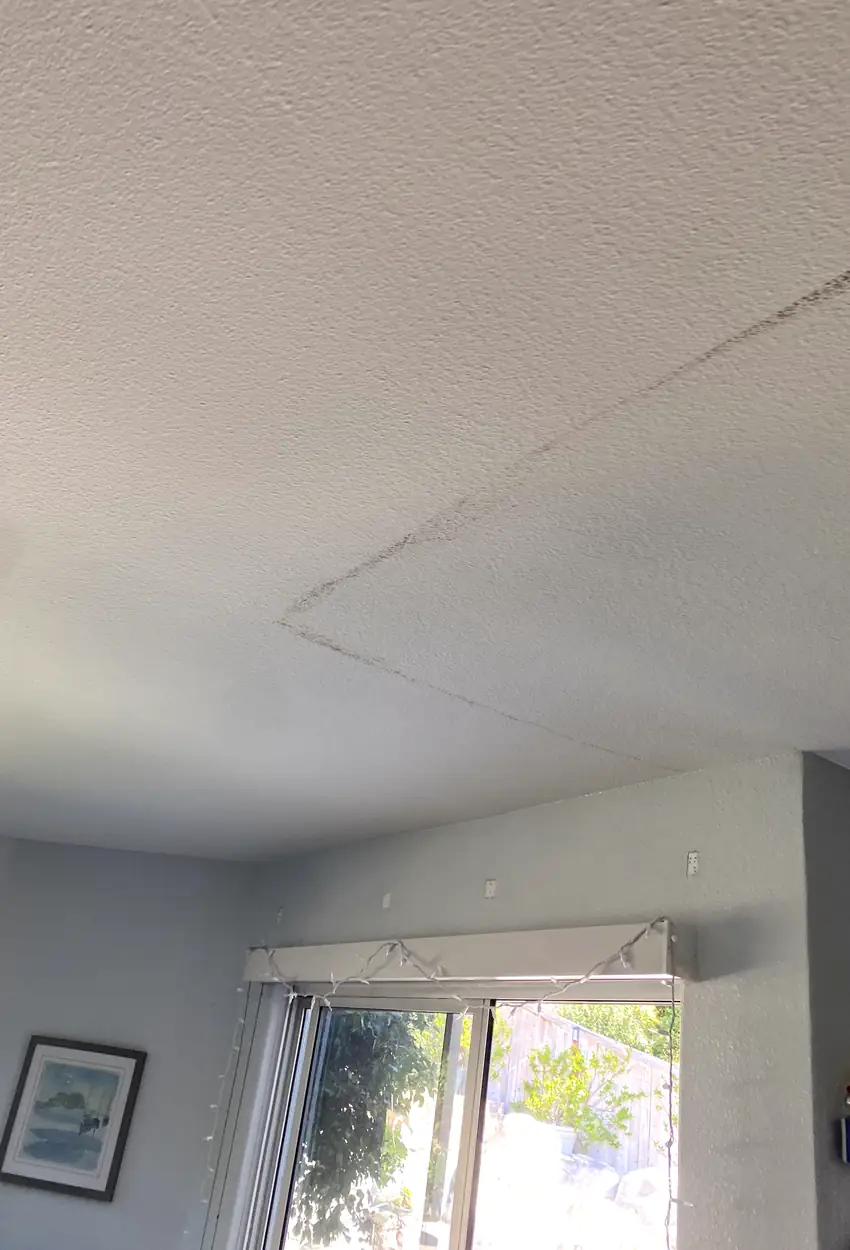
As homes settle, fine cracks appear in corners and seams, forming visible fractures with broken texture that signal ongoing stress on drywall beyond superficial wear.
In Fountain Valley, Drywall installation pricing reflects the real effort to fix visible patches or DIY mishaps, factoring in prep work, texture matching, and flawless blending to ensure seamless results.
$150+
Most small holes need careful surface prep and one coat of compound. Drying time is brief, with a single visit to ensure a clean, smooth finish that blends well.
$280+
Failures from rough openings require multiple compound layers and longer drying cycles. Each pass refines texture, demanding return visits to match existing walls perfectly.
$420+
When mismatched texture or large damaged areas are involved, prep is intensive. Several compound applications and thorough finish work guarantee the patch vanishes without a trace.
Top-Rated Drywall repair — 5 Stars on Yelp & Google
Experienced handyman service for Drywall installation in Fountain Valley handling repair, finishing, and texture blending with attention to detail and clean workspaces.
★★★★★
The big hole left by the door knob was rough; a quick DIY patch made it worse with uneven edges. He sanded, explained what he was doing, and the surface now looks smooth with no callbacks.
Samantha R
★★★★★
Tried fixing dents myself but the paint didn’t match at all. He carefully redid the drywall and paint, came back for a second pass, and now you barely notice the repair under natural light.
Chris D
★★★★★
Soft drywall spots kept sinking after my attempts; the handyman showed up on time, fixed framing underneath, and the patch near me feels solid and well finished without any rush to dry.
Jenny M
★★★★★
Had cracks and flashing paint over a bad patch job. He controlled dust well, did drywall repair services thoroughly, and after a few days the seams don’t stand out anymore at all.
Luis V
★★★★★
The wall finish was blotchy from prior work; ended up needing more than a patch which he clearly explained. Sanding and texture match were done carefully, and I’m happy it’s not drawing attention now.
Maria T
★★★★★
Called about a cracked edge on a corner that had a bad DIY patch. He kept the area clean while working, came back for a second pass to fill bubbles, and now it looks much smoother.
Alex J
★★★★★
Looking for drywall patch near me after my botched job, he arrived on time, took time not to rush drying, and by the next day the wall surface was solid and the repair less visible.
Nina B
★★★★★
After calling for sheetrock repair, he inspected soft drywall causing sagging, explained the fix, kept dust minimal, and the outcome is a clean surface that doesn’t catch the eye anymore.
Tom C
Our Drywall installation process tackles impact damage, rough patches, and visible seams by precisely addressing each flaw for an invisible finish. Skipping steps causes flaws to reappear under light.
We cut away loose or weakened drywall around the impact zone, creating a stable perimeter. DIYers often miss this, leading to shrinking or cracking patches as unstable edges remain.
A perfectly measured patch is anchored into the opening, stabilizing the repaired spot. Rushing this stage or improper fit leads to visible seams that catch shadows and reflections.
Joint compound is carefully built up in thin coats with adequate drying time between. DIY efforts typically rush drying or over-apply, causing uneven surfaces and future shrinkage.
We gently sand and blend edges to remove ridges and create smooth transitions. Skipping stages here leaves rough edges and obvious lines visible under direct light sources.
The final texture and paint are integrated to perfectly mimic surrounding surfaces. Poor color matching or texture creates flashing paint spots that expose the repair under certain lighting.
Throughout the process, dust is minimized and cleanup prioritized to ensure no debris traps cause imperfections. This attention prevents callbacks and supports a stable, invisible finish.
FAQs addressing visible drywall damage after attempted repairs, explaining causes, consequences, and solutions for lasting Drywall installation in Fountain Valley.
You may see the patch looks wet even days later because the joint compound wasn’t allowed enough drying time or was applied too thick. This traps moisture inside, causing softness and potential mold. Ignoring it risks weakening the repair and paint failure. Proper fixes involve thin, multiple coats and ample drying in a well-ventilated room.
When you notice visible edges on your patch under side lighting, it usually means the texture or sanding didn’t blend smoothly with the surrounding wall. The patch shrinks when drying, revealing seams. Left as is, it becomes a constant eye sore. Proper repair requires careful feather sanding and matching texture so repairs disappear from normal viewing angles.
If your DIY patch keeps cracking or coming loose, it’s probably because you missed prep like taping seams or didn’t use the right mud layers. Visible cracks or bulges mean only temporary fixes. Inadequate repairs lead to repeated frustration. A handyman focuses on stable joints, proper mud application, and clean finishes that last without recurring callbacks.
You might think the cost is high since drywall mud and tape are cheap, but visible damage needs careful prep, multiple drying cycles, sanding, texture matching, and repainting. Rushing or skipping steps leads to patches coming back or looking worse. Skilled repair provides a clean, blended finish avoiding repeated patch jobs that cost more in the long run.
If you see the damaged area is large or the drywall crumbles below the patch, just filling it won’t hold. Ignoring this lets the damage spread and patch failures multiply. Proper repair involves removing the damaged section and installing new drywall to restore structural integrity, ensuring the repair doesn’t fail repeatedly.
Visible texture mismatch often happens because the repair uses a different technique or compound than the original wall, causing shadowing or patchiness under light. This inconsistency makes the repair stand out. Left untreated, it distracts every time you glance. A professional blends texture carefully, matching light reflection for a smooth, even wall.
If your patch shows cracks or dents months after repair, it likely wasn’t done with durable materials or proper layering. Visible damage demands stable application and good joint reinforcement. Ignoring this means constant repairs that degrade wall appearance. A skilled handyman ensures patches hold up long term without callbacks, blending paint and texture cleanly.
Our drywall repair work centers in Fountain Valley, where small patches, visible wall damage fixes, and finishing touches are managed efficiently. We extend into nearby parts of Orange County by clustering jobs to minimize travel time and handle return visits smoothly. Since drywall repairs are generally brief, we keep trips close to Fountain Valley to stay on schedule and provide steady service without long delays.
Expanding services beyond Fountain Valley, our workflow reaches nearby spots where short visits and grouped jobs fit practical repair schedules. Costa Mesa and Huntington Beach.
From fixing small cracks to patching larger holes, we handle drywall repairs and installations with care in Fountain Valley and surrounding neighborhoods. Whether it’s a ding in a shared wall or damage from a recent remodel nearby, we’re local enough to respond quickly and get your walls looking smooth again without long waits.
Homeowners often ask about these drywall issues during the same visit.
HubPro also handles these home repair tasks in Fountain Valley when you need more than drywall repair.