Impact Dents from Doors
A door handle swinging too close to the wall often leaves shallow dents with chipped paint and slight cracking, small flaws that hint at further unseen weaknesses beneath the surface.
Local Drywall repair Service
That jagged hole in the corner of your wall didn’t just appear out of nowhere—it’s rough, uneven, and the paint’s cracking right where the drywall chipped away. What looks like a simple patch won’t hide that broken edge, and Drywall installation in Cypress is a bit more involved than a quick fix.
When the kids crashed their bikes into the living room wall, a jagged hole with splintered edges opened up right near the corner. The drywall was cracked badly, and the surrounding paper peeled away, making the damage impossible to ignore. Every time I glanced at it, that rough, exposed patch just screamed for a fix before it got worse and more noticeable under the morning light.
I tried patching it myself, thinking a bit of compound and some sanding would do the trick. But the seams shrank after drying, leaving hairline cracks, and the texture didn’t match the rest of the wall at all. Under different angles, the patch threw off shadows, and the paint looked mismatched and blotchy. It became clear this small job needed more precision than I had—the light revealed every flaw I hadn’t noticed.
Calling for professional Drywall installation in Cypress was the best move. The handyman controlled the dust thoroughly, sanding the surface smooth with multiple thin compound layers, feathering the edges perfectly. The result? No visible patch, no shadow lines—just flat, flawless drywall that blends seamlessly from every angle. Done right the first time, with no callbacks, leaving a wall that looks untouched and sturdy again.
In Cypress homes, minor mishaps can quickly escalate, turning simple Drywall installation imperfections into stubborn issues. What starts as a slight dent can evolve into serious wall damage that’s tough to conceal.
A door handle swinging too close to the wall often leaves shallow dents with chipped paint and slight cracking, small flaws that hint at further unseen weaknesses beneath the surface.
Plumbing or electrical work can create uneven, jagged cuts in drywall that don’t blend well, leaving raw edges and exposed layers that are difficult to disguise without professional refinishing.
Removing heavy TV brackets or anchors frequently rips out chunks of drywall, causing larger holes surrounded by fractured paper and crumbled gypsum that make clean restoration challenging.
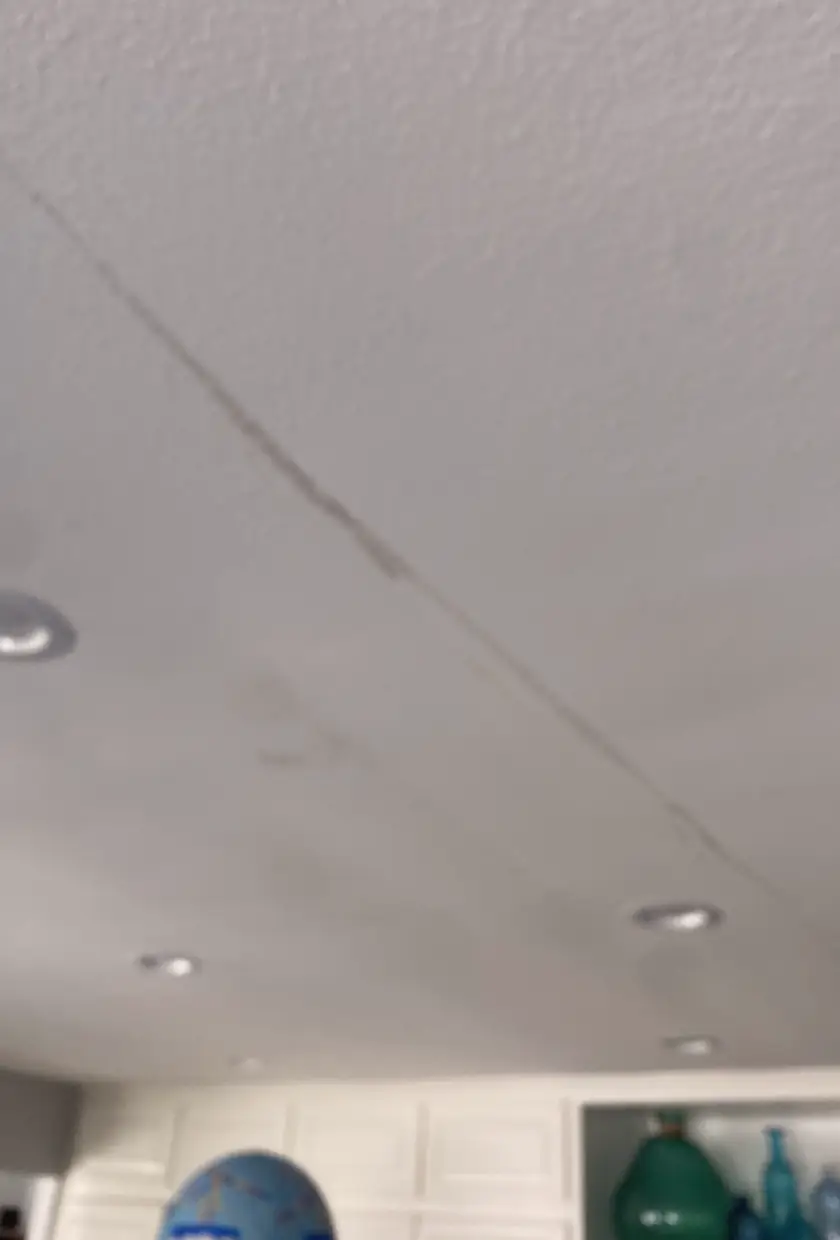
Minor shifts in a home’s structure often show as hairline cracks and broken corners that spread over time, breaking the smooth texture and revealing deeper instability beneath the surface.
In Cypress, Drywall installation costs reflect the real work behind visible patches, failed DIY attempts, and tricky repairs. We focus on lasting, seamless results you can't spot afterward.
$150+
Simple prep covers cleaning and securing loose edges. A single compound layer dries quickly with one visit, ensuring a smooth patch ready for paint.
$280+
Fixing rough openings requires extra prep and multiple compound applications. Each drying cycle and return visit allow proper shrinkage control and texture blending.
$420+
Complex spots with mismatched texture or failed prior fixes demand extensive surface prep and three-plus compound layers. Extra return trips guarantee a flawless, invisible finish.
Top-Rated Drywall repair — 5 Stars on Yelp & Google
Trusted local handyman experts for Drywall installation in Cypress delivering precise surface repairs, texture matching, and seamless finishes every time.
★★★★★
There was a big hole by my door frame from moving furniture. The patch job before was rough with flashing paint, but they smoothed the seams and the wall no longer stands out.
Jessica B
★★★★★
Tried a drywall patch near me after a fist dent, but it cracked and peeled next day. This crew fixed it properly and came back for a second sanding that really did the trick.
Chris D
★★★★★
The paint mismatch following a cheap repair bugged me. They showed up on time, explained the blending process, and now the patch and paint look like one surface.
Ralph
★★★★★
Texture was spotty on my wall after a DIY fix. This handyman gave it a proper finish, controlled dust well, and the roughness doesn’t draw attention anymore.
Anna L
★★★★★
Soft drywall around an old crack was tricky. They didn’t rush drying; I thought it was fine at first but it sank a bit, so they came back for a second pass—no callbacks needed.
Michael H
★★★★★
My old drywall repair services left visible lines and uneven surface texture. This job was tidy, kept the area clean, and blends under light way better than before.
Belinda M
★★★★★
Had a busted wall after a door slammed. Ended up needing more than a patch. The handyman explained everything while working, and honestly the wall looks natural now.
Tony R
★★★★★
Repeatedly trusted them for sheetrock repair. They keep returning until the texture matches the rest of the room, which is rare—and I appreciate their thoroughness.
Lara K
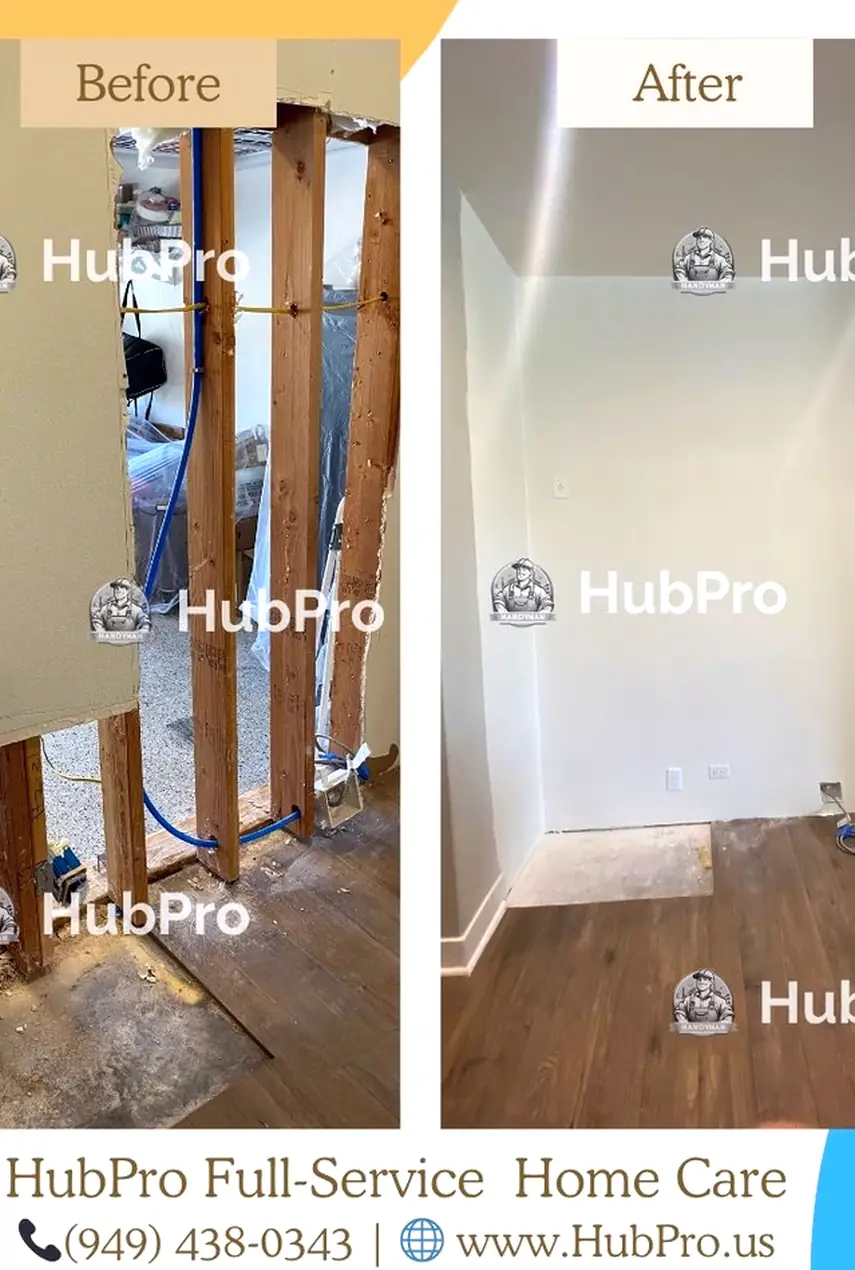
Our Drywall installation in Cypress, CA addresses impact damage, rough patches, and visible seams through a careful step-by-step process ensuring a smooth, flawless finish.
We begin by cutting out the damaged drywall neatly to form a clean, stable perimeter. DIYers often create jagged edges that cause uneven patches and visible repair lines under shifting light.
Next, a drywall patch matching the hole size is installed snugly into place. Poor fit or hurried adhesion results in shrinkage gaps and weak spots that reveal themselves as shadows after paint dries.
We build up joint compound in thin, controlled layers allowing each to dry fully. Skipping this sequence leads to cracking, uneven surfaces, and drying flaws visible with room lighting.
After compound cures, we sand carefully with dust control, softly feathering edges. Rushing sanding causes scratch marks and harsh transitions that pop out under natural and artificial light.
Finally, we replicate the original texture and color with precise paint blending. Poor texture matching or uneven paint creates distracting flashing and visible patches, breaking seamless appearance.
Common homeowner questions about visible drywall damage during Drywall installation in Cypress, explaining causes, effects, and proper repairs to avoid recurring issues.
When drywall mud dries, it loses moisture and shrinks, causing the patch to pull away or crack. This happens because initial application traps water that evaporates. Ignoring it leads to visible gaps or uneven surfaces. Proper repair means applying multiple thin coats, allowing full drying between, and sanding smoothly to avoid shrinkage issues.
The patch often shows through due to differences in texture and light reflectivity. Even if the paint color matches, sanding edges weren’t blended well or the texture didn't match surrounding walls. If ignored, the patch becomes more obvious under direct light. A correct fix involves feathering the mud out, matching texture exactly, and priming before painting with consistent lighting.
DIY patches often fail because they don’t address underlying damage or use proper materials. If drywall is not fully dried, cracked, or weak, simple patches won’t hold and will reappear. When ignored, damage worsens and may spread. Proper repair includes cutting out the damaged area, securing new drywall, and using quality mud and tape for a stable result.
Small dents or nail holes can be patched, but if the damage is broad, deep, or has caused structural issues, patching won’t hold. If left untreated, the flaw gets bigger or cracks return. For larger spots, replacing sections with new drywall and professional mudding ensures durability and a clean finish without repeated callbacks.
Texture differences catch light differently, making patched areas pop out, especially with side lighting. If your patch has a smooth surface next to a lightly sprayed texture, it stands out. Ignoring this means noticeable blotches when light hits the wall. The solution is replicating the original texture with the right tools and blending it carefully into existing walls.
Drywall mud must be fully dry before sanding or painting; otherwise, it can crack or shrink later. Depending on thickness and humidity, drying can take 24 hours or more. Painting too soon traps moisture, causing failure and visible defects. Proper timing ensures clean work with no callbacks and a smooth, durable finish.
Durability comes from stabilizing the damaged area, using proper drywall tape, mud layers, and thorough sanding. Quick fixes skip steps or use the wrong products, leading to cracks and repeated repairs. Without a stable base, damage reappears with house movement or humidity changes. A pro job offers a clean, long-term result that blends seamlessly into your walls.
Based in Cypress, our drywall repair runs cover visible wall damage, patch work, and finish work mainly within a manageable driving distance to keep repairs efficient. Small fixes often require short visits or follow-ups, so we schedule jobs clustered around nearby spots to save trips and time. While Cypress anchors our service, we frequently handle repairs in neighboring Orange County communities, balancing workload with distance to maintain reliability.
Besides Cypress, we routinely work in closely situated cities within Orange County to handle drywall repairs without long travel times. Garden Grove and Seal Beach.
When walls in Cypress show cracks or holes, whether from everyday wear or sudden dents, nearby homes experience the same hassle. We handle these drywall repairs and installations promptly, ensuring visible patches blend smoothly, so your walls look solid again without waiting long.
Homeowners often ask about these drywall issues during the same visit.
HubPro also handles these home repair tasks in Cypress when you need more than drywall repair.